Learn how to make Homemade Baileys Irish Cream that’s richer, smoother, and better than store-bought!

There’s a quiet kind of magic in pouring yourself a glass of Homemade Baileys Irish Cream and realizing it tastes richer, smoother, and more indulgent than anything!
Why This Homemade Baileys Irish Cream Beats Most Copycat Creamers
It Doesn’t Split In Hot Coffee
A lot of homemade creamers curdle because people dump cold dairy into screaming-hot coffee and then act shocked. I build this recipe with proper emulsifiers, gentle heat, and a pour-friendly texture so it stays smooth.
It Tastes Like The Real Vibe
You’re getting:
- Cocoa richness (not chocolate syrup sadness)
- Vanilla warmth (real vanilla, not “birthday candle”)
- Coffee depth (espresso powder is the grown-up move)
- Creamy body (a blend of dairy + sweetened condensed milk for stability)
It’s Built For Real Life
It stores well, pours cleanly, and scales easily. You can make one bottle for yourself and another as a gift and still have enough left to “taste test” with zero guilt.
Ingredients
For The Ultimate Irish Cream Style Creamer (About 2½ Cups)
- Sweetened condensed milk – 1 (14 oz / 395 g) can
- Heavy cream – 1 cup (240 ml)
- Whole milk – ½ cup (120 ml)
- Unsweetened cocoa powder – 2 tbsp (Dutch-process gives the smoothest chocolate flavor)
- Instant espresso powder – 2 tsp (this is the flavor backbone)
- Pure vanilla extract – 1 tbsp
- Maple syrup – 1 tbsp (adds depth, not just sweetness)
- Pinch of fine sea salt – ¼ tsp
- Ground cinnamon – ¼ tsp (tiny amount, big holiday energy)
Optional But Ridiculously Good Flavor Boosters
Pick one or two. Don’t turn it into a spice cabinet situation.
- Almond extract – ¼ tsp (makes it taste “bakery-level”)
- Coconut cream – swap ¼ cup of heavy cream for coconut cream (adds silky body)
- Chocolate syrup – 1 tbsp (if you want it darker and more dessert-y)
- Irish cream “feel” without alcohol: a few drops of rum extract (optional and alcohol-free as used in baking)
The Creamy Method That Never Lets You Down
1. Set Up Like You Mean It
Before you turn on the heat:
- Place your bottle/jar nearby.
- Make sure it’s clean and fully dry. Water droplets mess with texture and shelf life.
- Measure everything. When you measure first, you cook calmer. I’m not negotiating on this.
2. Wake Up The Cocoa And Espresso
In a medium saucepan (heat still OFF):
- Add cocoa powder and espresso powder.
- Pour in whole milk (½ cup).
- Whisk until you get a smooth, dark slurry with no dry pockets.
This step matters because cocoa hates being dumped into hot liquid. It clumps like it’s defending its honor. You’re preventing that.
3. Add The Sweetened Condensed Milk (And Get That Gloss)
- Add the entire can of sweetened condensed milk.
- Whisk slowly at first, then more confidently until the mixture looks glossy and uniform.
- If it looks like chocolate lava at this stage, you’re doing it right.
4. Heat Gently—No Boiling, No Chaos
- Turn heat to medium-low.
- Whisk constantly for the first 2–3 minutes so nothing sticks.
- When it starts steaming lightly, reduce heat to low.
You want the mixture warm enough to dissolve everything and slightly thicken—but never boiling. Boiling changes texture and makes dairy taste “cooked” in a way you don’t want.
5. Add Heavy Cream Slowly Like A Pro
- Pour in heavy cream in a steady stream while whisking.
- Keep heat on low.
- Whisk for 3–4 minutes until the mixture becomes silky and slightly thicker than regular milk.
You’re not trying to make pudding. You’re making a creamer that feels luxurious but still pours.
6. Season It Like It’s A Real Recipe
Turn off the heat. Then add:
- Vanilla extract
- Maple syrup
- Salt
- Cinnamon
- Whisk again for 30 seconds.
Now taste a tiny spoonful. It should taste like:
Soft chocolate + warm vanilla + coffee depth + creamy richness.
If it tastes flat, it needs a pinch more salt. If it tastes too sweet, add a tiny squeeze of coffee (½ tsp espresso powder dissolved in 1 tbsp hot water). That balances it instantly.
7. Strain For A “Store-Bought Smooth” Finish
- Pour the creamer through a fine mesh sieve into a bowl or large measuring jug.
- This catches any rogue cocoa bits or spice specks and gives you a flawless pour.
8. Bottle It Cleanly
- Use a funnel if you have one, then pour into your jar/bottle.
- Seal immediately.
9. Chill Before You Judge It
- Refrigerate at least 6 hours, overnight is even better.
- Cold makes flavors deepen and texture thicken slightly into that signature “Irish cream” vibe.
How To Use Homemade Baileys Irish Cream (So It Feels Like A Treat, Not A Random Syrup)

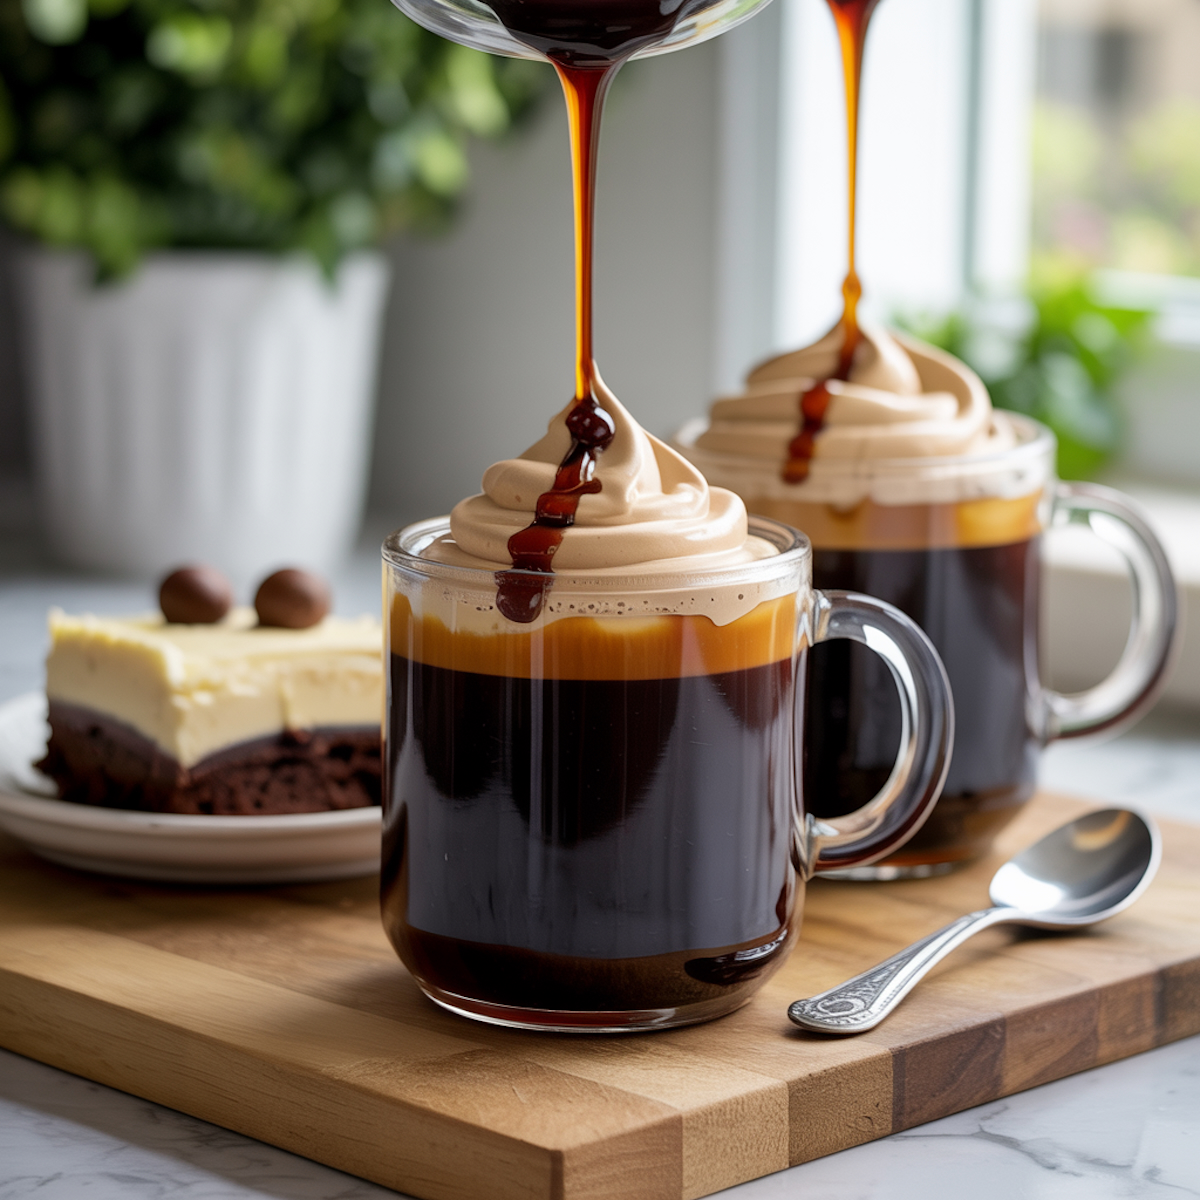
In Coffee
- Start with 2 tbsp per 8 oz coffee.
- If you like it richer, go to 3 tbsp.
- Stir well. If your coffee is extremely hot, let it sit 30 seconds before adding creamer. This keeps everything smooth.
In Iced Coffee
- Add 2–3 tbsp to the glass first.
- Pour espresso or cold brew on top.
- Stir, then add ice.
- This prevents the creamer from sinking and sulking at the bottom.
In Hot Chocolate
- Add 2 tbsp per mug and watch people suddenly act like you’re talented.
In Desserts
- Drizzle over brownies
- Stir into whipped cream
- Add to cheesecake batter
- Brush onto cake layers before frosting
If you came here for Homemade Baileys Irish Cream and what you really wanted was that silky, chocolate-vanilla, coffee-kissed holiday comfort in a bottle, this alcohol-free version delivers the same cozy magic—without the complications.
Make it once, keep it chilled, and suddenly every cup of coffee feels like you planned your life. That’s the power of a really good Homemade Baileys Irish Cream moment—homemade, polished, and absolutely worth it.
Do not miss these Christmas Potluck Ideas!